

Creating a Webpage Using Python and Flask
Learn to build dynamic web applications with Python and Flask – from installation to deployment with step-by-step tutorials
Did you know you can host a webpage using nothing but Python code? You don’t need complex web servers like IIS or Apache for simple applications. When you’re building lightweight applications or hosting APIs, Python Flask offers an elegant and powerful solution. This comprehensive guide will walk you through creating a basic webpage using Python and Flask, from initial setup to displaying dynamic HTML content.
Prerequisites
To follow this tutorial successfully, you’ll need the following three prerequisites:
- Install Python 3
- Install Pip (Python package manager)
- Install Flask framework
To fulfill the first two requirements, check out our comprehensive article on Python Basics. That guide describes how to install Python and pip on your system.
Once you have Python and pip installed, you can install Flask by running one of these commands:
pip install flask-or-
pip3 install flask💡 Pro Tip: The command you choose depends on whether you’re running Python 2 or Python 3. For this tutorial, we’ll assume you’re using Python 3, as it’s the current standard and Python 2 has reached end-of-life.
Your First Flask Application: Hello World
As is tradition in programming, let’s start with a “Hello World” example using Flask. This simple application will start a Flask server and display “Hello World!” in your web browser when you visit the local URL.
from flask import Flask
app = Flask(__name__)

@app.route('/')
def hello_world():
    return 'Hello World!'

if __name__ == '__main__':
    app.run()
Save the above code into a file on your computer named myflask.py. To run the application, open your terminal or command prompt and type:
python3 myflask.pyYou should see the following output displayed in your terminal window:
* Running on http://127.0.0.1:5000/ (Press CTRL+C to quit)Open your browser and navigate to: http://127.0.0.1:5000. You should see “Hello World!” displayed on the page.
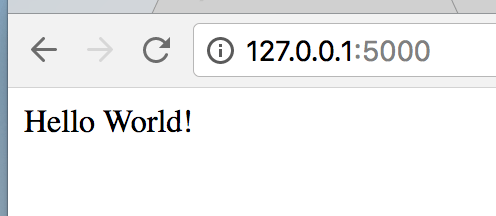
If your screen looks like the image above, congratulations! Everything is working as expected. In your terminal, you should see additional output showing the HTTP requests:
* Running on http://127.0.0.1:5000/ (Press CTRL+C to quit)
127.0.0.1 - - [11/Feb/2018 14:03:00] "GET / HTTP/1.1" 200 -
127.0.0.1 - - [11/Feb/2018 14:03:01] "GET /favicon.ico HTTP/1.1" 404 -
🔍 Understanding the Output: The first line shows your application is running on port 5000. The “200” status code indicates a successful HTTP GET request. The “404” error for favicon.ico is normal – it happens because we haven’t created a favicon (the small icon in browser tabs).
Working with Multiple URL Paths
In the previous example, we used only the default path of ‘/’. As you build more complex applications, you’ll want to serve different content based on the URL path users navigate to. Let’s expand our application with additional routes:
from flask import Flask

app = Flask(__name__)

@app.route('/')
def hello_world():
    return 'Hello World!'

@app.route('/aboutus')
def hello_awesome():
    return 'We are Awesome!'

if __name__ == '__main__':
    app.run()
In this updated code, we’ve added a new route section:
@app.route('/aboutus')
def hello_awesome():
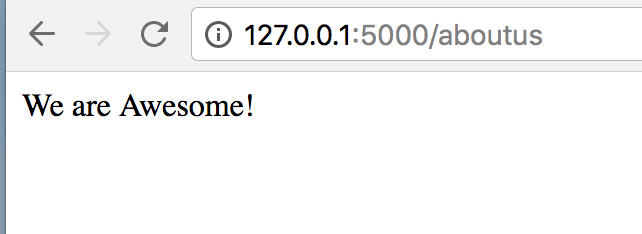
return 'We are Awesome!'This code adds a second path “/aboutus” that users can navigate to and receive different content. When you save and run the updated file, you can still visit http://127.0.0.1:5000/ to see “Hello World!”, but now you can also visit http://127.0.0.1:5000/aboutus to see “We are Awesome!”
Displaying HTML Content with Templates
So far, we’ve only displayed plain text. To create more sophisticated web pages with proper HTML formatting, we need to use Flask’s template system. Let’s set up HTML rendering capabilities.
Step 1: Import the render_template Module
First, update the import statement at the top of your file to include the render_template function:
from flask import Flask, render_templateStep 2: Add an HTML Route
Add this new route to your Flask application:
@app.route('/html')
def static_page():
    return render_template('page.html')
Step 3: Create the Templates Directory
Create a folder called templates in the same directory as your myflask.py file. This is where Flask will look for HTML template files.
In the templates folder, create a file called page.html and add the following HTML content:
<html>
<head>
    <title>Flask HTML Demo</title>
</head>
<body>
    <h1>Welcome to Flask HTML Templates!</h1>
    <p>This content is rendered from an HTML template.</p>
    <img src="https://i0.wp.com/www.idkrtm.com/wp-content/uploads/2018/02/1518385014_featured.jpeg?zoom=2&resize=777%2C437&ssl=1" alt="VR Demo" style="max-width:100%;">
</body>
</html>
Complete Application Code
Your updated myflask.py file should now look like this:
from flask import Flask, render_template
app = Flask(__name__)
@app.route('/')
def hello_world():
return 'Hello World!'
@app.route('/aboutus')
def hello_awesome():
return 'We are Awesome!'
@app.route('/html')
def static_page():
return render_template('page.html')
if __name__ == '__main__':
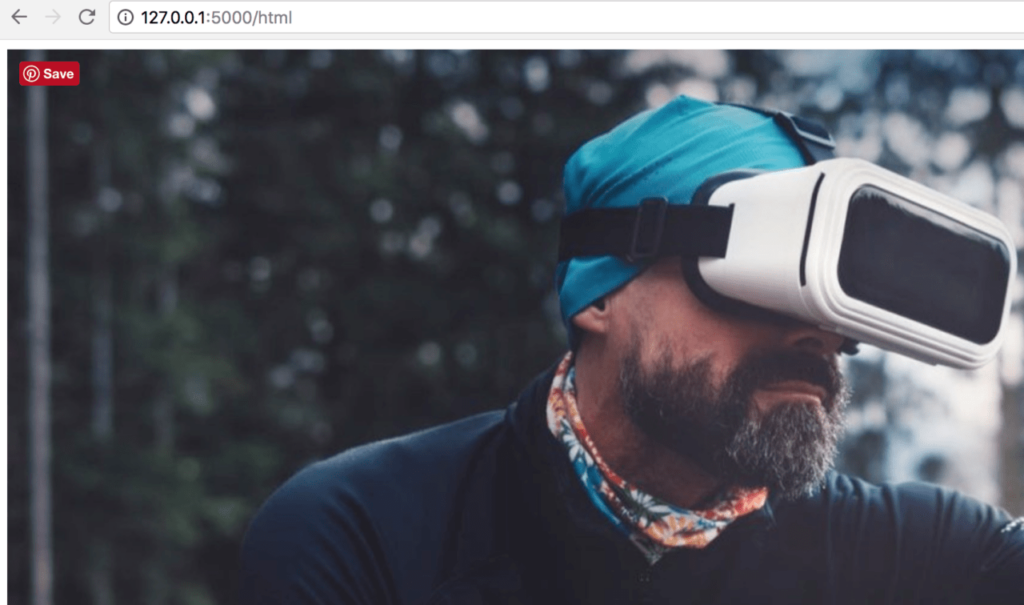
app.run()When you run the application and navigate to http://127.0.0.1:5000/html, you should see a properly formatted HTML page with a heading, paragraph, and image.
🎯 Understanding Templates: Flask treats HTML files in the templates folder as templates. These are static HTML files where you can optionally insert dynamic variables and content. This separation allows you to maintain clean code structure and easily update your website’s appearance.
Next Steps in Your Flask Journey
Congratulations! You’ve successfully created your first Flask web application with multiple routes and HTML template rendering. You now have the foundation to build more complex web applications.
In future tutorials, we’ll explore advanced Flask features including:
- Dynamic template variables and data injection
- Form handling and user input processing
- Database integration with SQLAlchemy
- User authentication and session management
- RESTful API development
- Deployment strategies for production environments
📚 Learning Resources: To continue your Python web development journey, explore our comprehensive guides on Python functions and advanced programming concepts. Practice is key to mastering Flask development!
Elevate Your IT Efficiency with Expert Solutions
Transform Your Technology, Propel Your Business
Ready to take your web development and IT infrastructure to the next level? At InventiveHQ, we combine industry expertise with innovative practices to enhance your cybersecurity, streamline your IT operations, and leverage cloud technologies for optimal efficiency and growth.